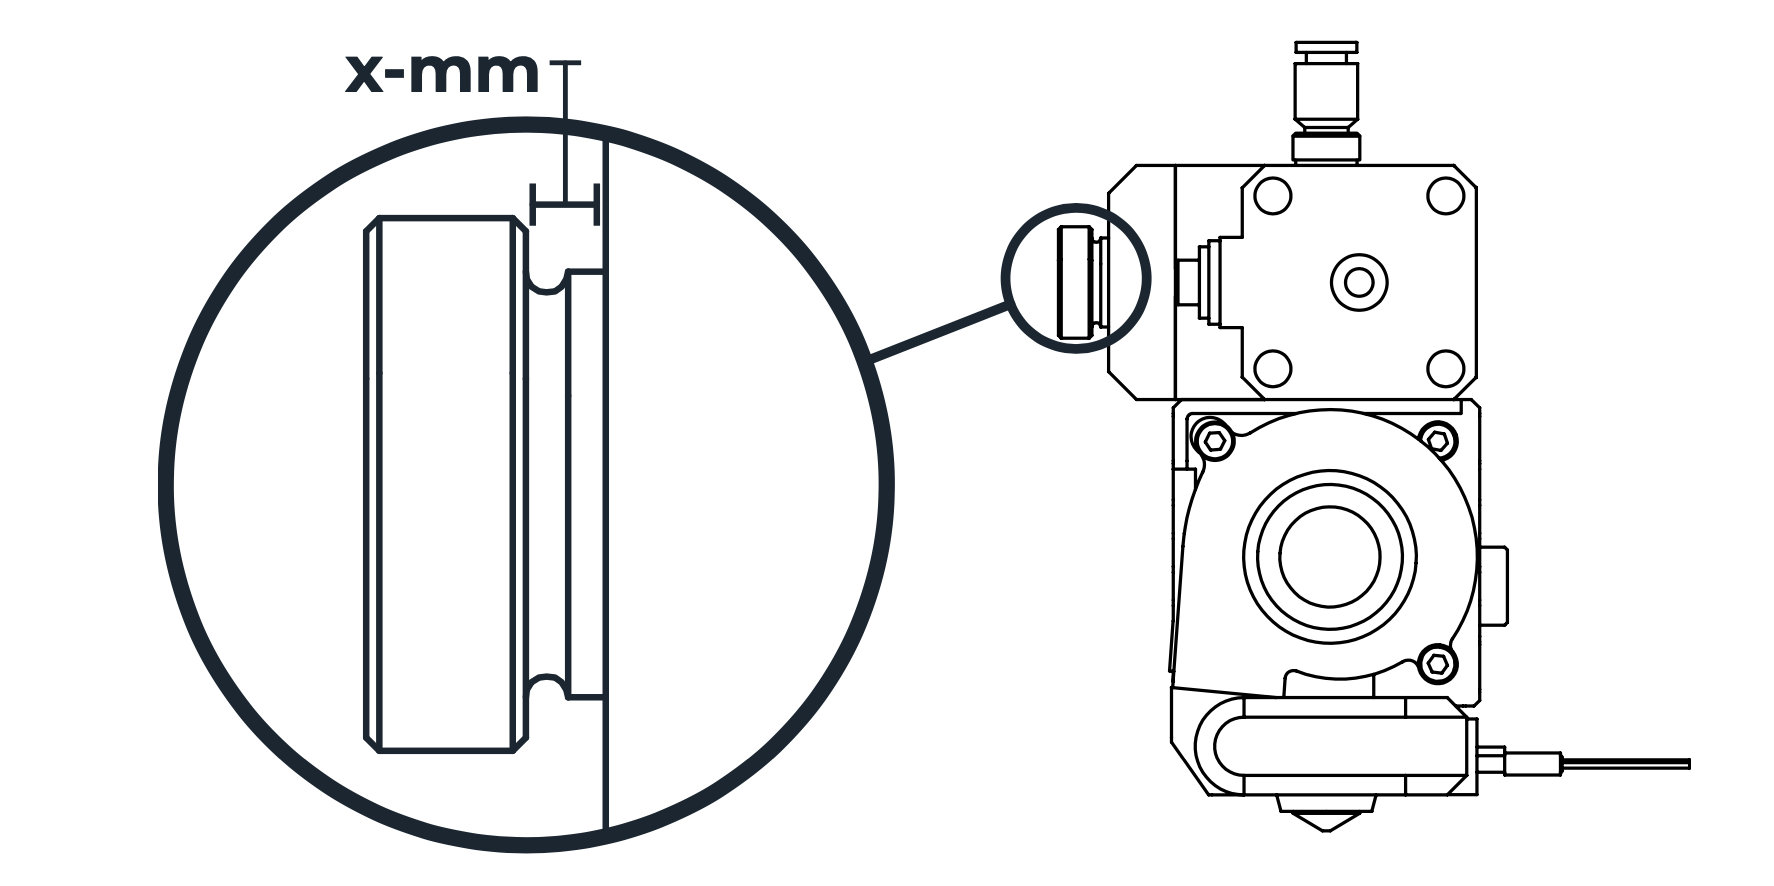
With regards to software we recommend doing the following:
- Make sure the print speed does not exceed 3000mm/min or 50mm/s.
- Try printing the same model halve the speed and compare the results
- Try printing with a layer height of .15mm and compare the results
- Make sure the Extrusion temperature matches the filament specifications
If you are experiencing print quality issues related to a clogged extruder then please follow the Check points below:
Overview:
Check 1. The filament spool
Check 2. Flushing out the printhead in case different type of filaments have been used.
Check 3. The filament pressure thumbscrew
Check 4. Printhead and hot end
Check 5. Temperature to high in build-chamber
Check 6. Extruder Drive Gear
Check 7. Your filament absorbed to much moisture
Check 2. Flushing out the printhead in case different type of filaments have been used.
In case you previously printed a different material, than this could possible cause extrusion issues of a print attempt done afterwards. Especially if the material printed previously requires a higher extrusion temperature.
In order to 'flush-out' those filament remainings, we recommend doing the following.
1. Go to settings / maintenance / head maintenance on your Leapfrog Bolt (PRO)
2. Select the filament previously used, that requires the highest pre-heat temperature.
3. Press pre-heat
4. Automatically Purge or manually push the filament thru the printhead
5. Unload the filament
6. Automatically Purge or manually insert the filament that you would like to proceed with for your next print.
7. Stop the pre-heat and change the material to the one used in previous step.
8. Press pre-heat and attempt automatic Purging or manually push the filament thru the printhead
9. Press done and close the maintenance menu.
3mm = Engineering PLA
3mm = HIPS
3mm = PETG
3mm = Carbon
3mm = Nylon
6mm = TPU / Flex
6mm= PVA / Scaffold

Also make sure that the PTFE-liner inside the heat break is OK. The PTFE liner should not be dislocated. Please see example below. In case the PTFE liner is dislocated, it is likely that filament leakage has taken place on bottom side of this tube. We recommend replacing this hot end. 
In case you are printing a non-toxic filament you could also consider printing with the door open.
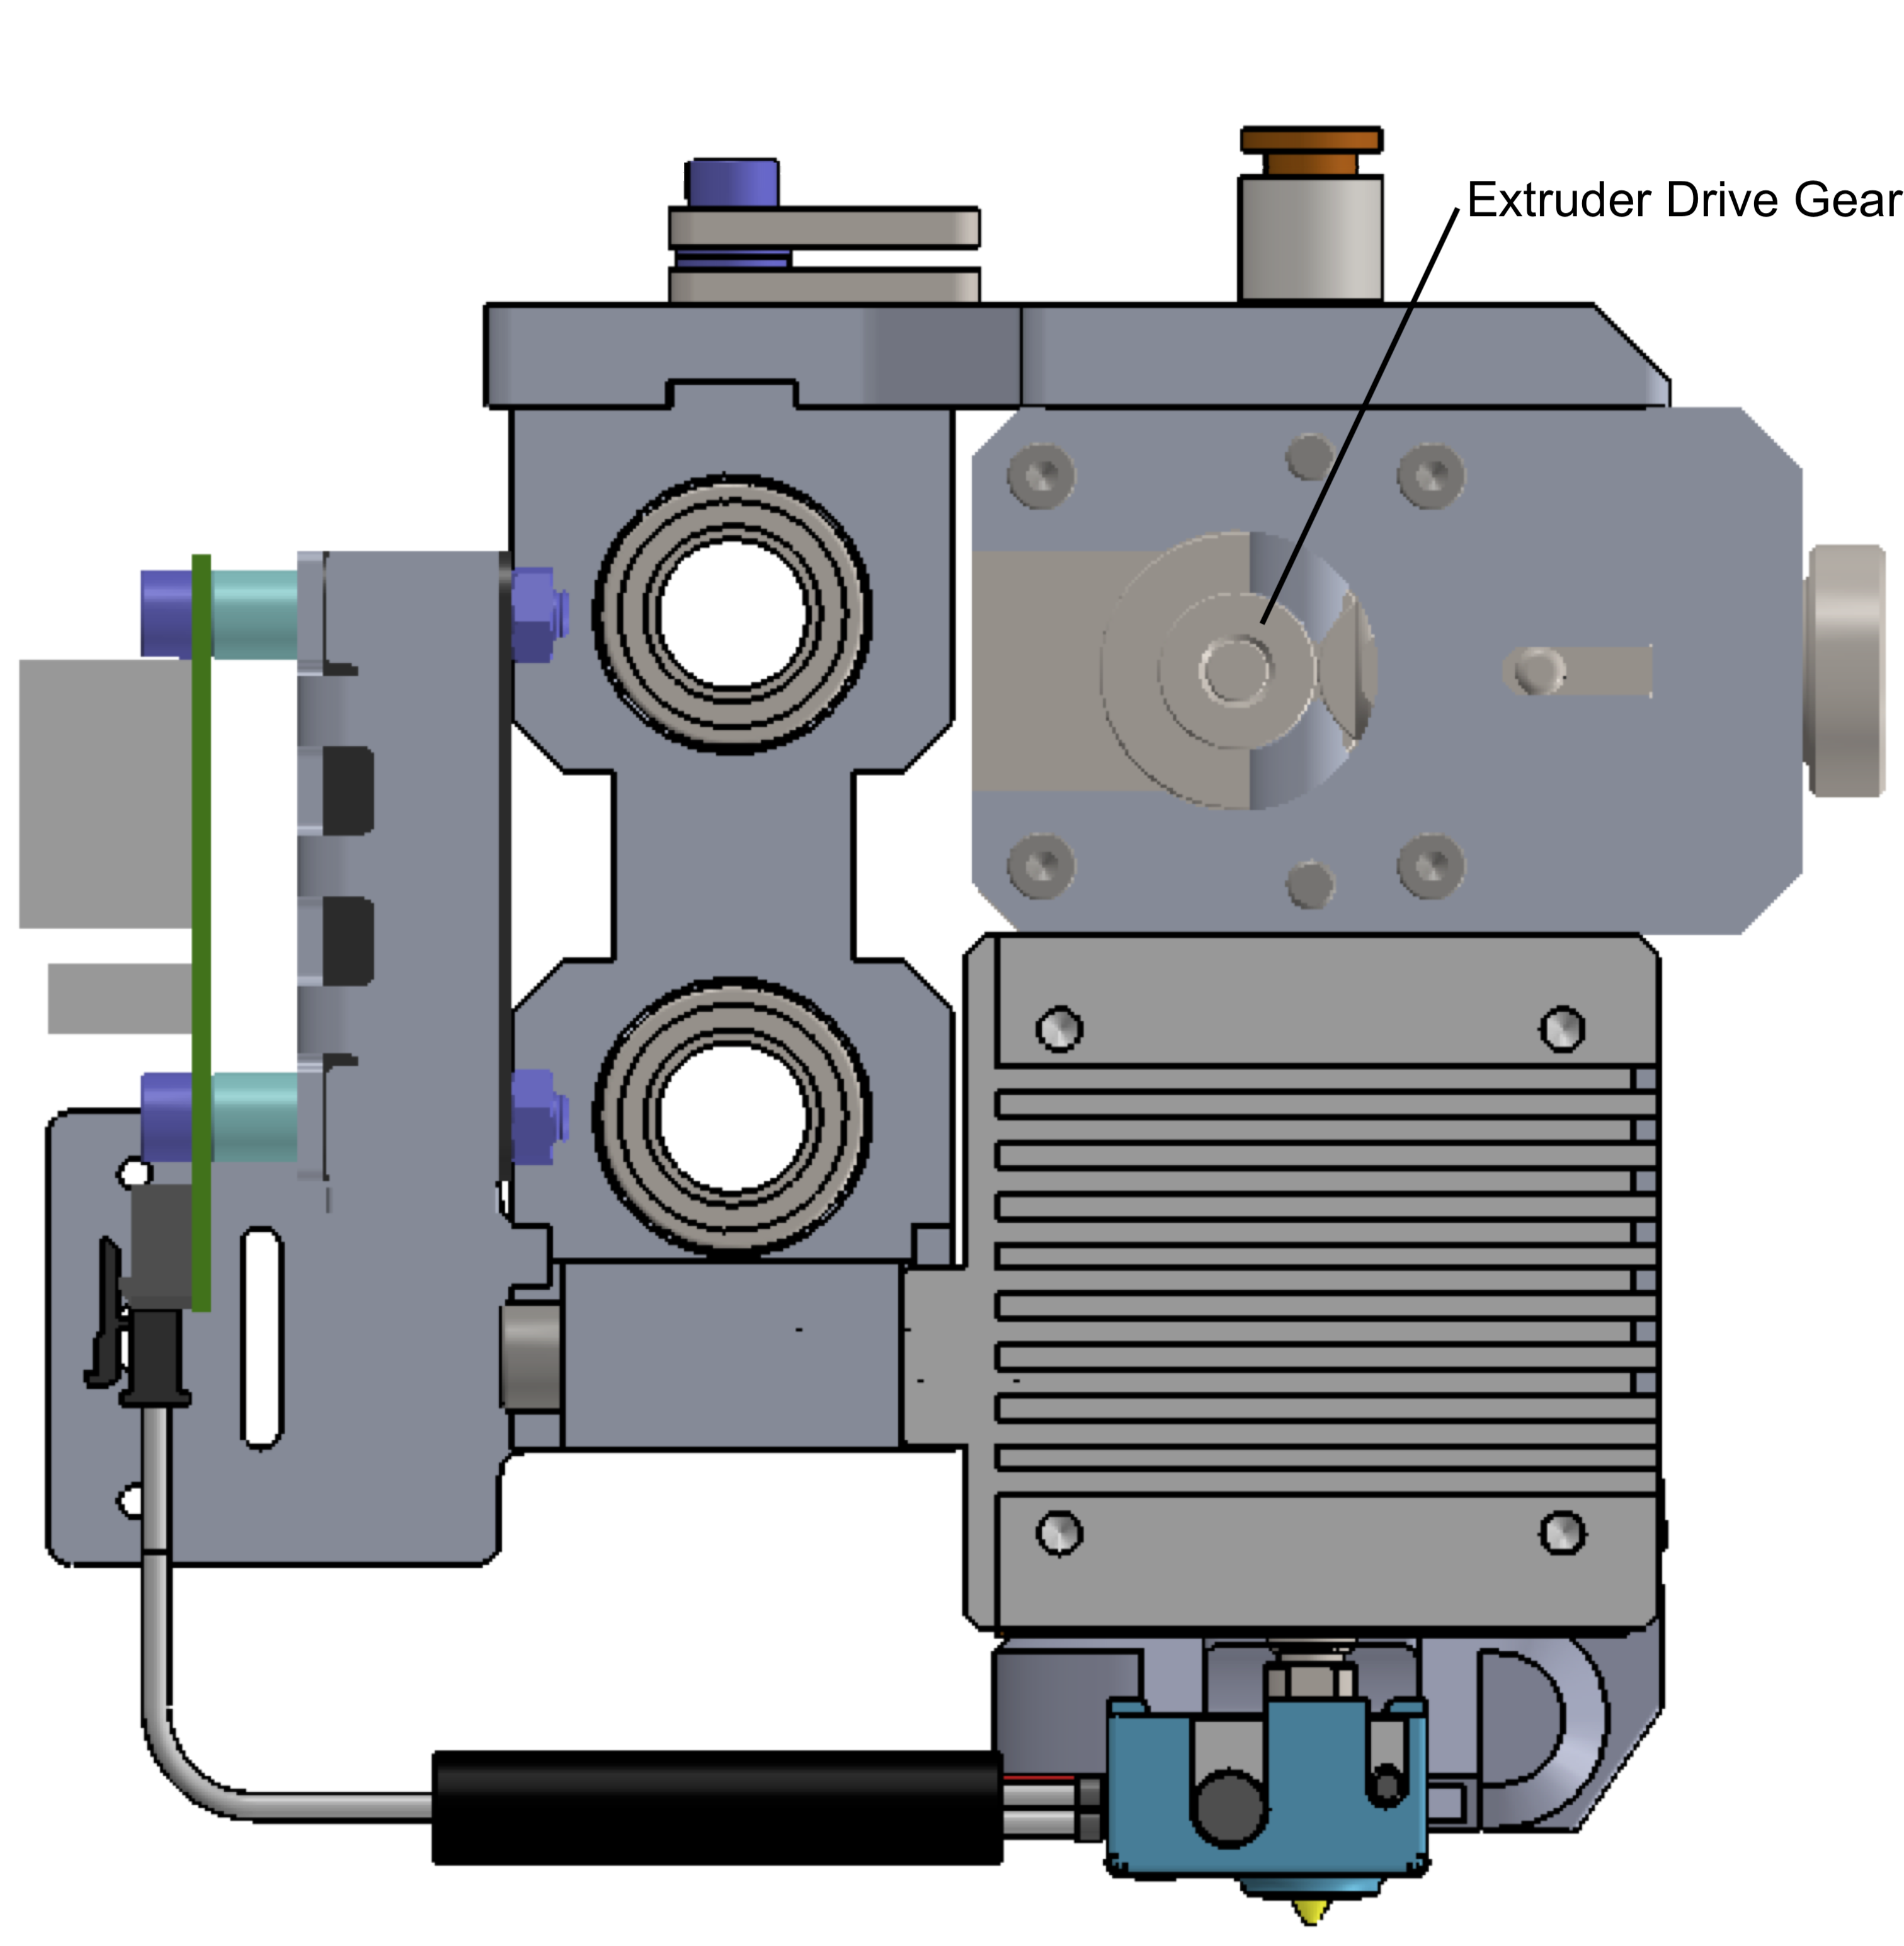
Check 6. Extruder drive gear
The extruder drive gear is in direct contact with your filament, and needs to have grip on your filament to be able to move it up and down properly.
In case your extruder drive gear has been grinding on filament during previous prints, it is possible that dirt has gone stuck in between the teeth. This dirt makes it hard for your extruder drive gear to accurately move your filament up and down during a print job as the grip is reduced.
A quick check that you could perform, is to try and hold the filament string just above the printhead when it is trying to extrude filament. In case the filament is easy very easily to hold on to between your fingers, and the Drive Gear does not grip the filament well, then possible the could be the root cause.
It is therefore important that the extruder drive gear is cleaned.

- Severly reduced part strength and layer adhesion
- Uneven extrusion lines
- Uncharacteristically severe stringing, blobbing or oozing
- Uncharacteristically textured or "fuzzy" surfaces on prints
If you’re seeing any of the above symptoms, then you could consider to dry out your filament. Especially hygroscopic materials like nylon, PETG, PVA, and flexibles, symptoms may appear after just one night left out in the open. Dry out wet filament as soon as you identify it to preserve print strength and quality. Please consult the correct drying conditions on the support page for Filaments.

